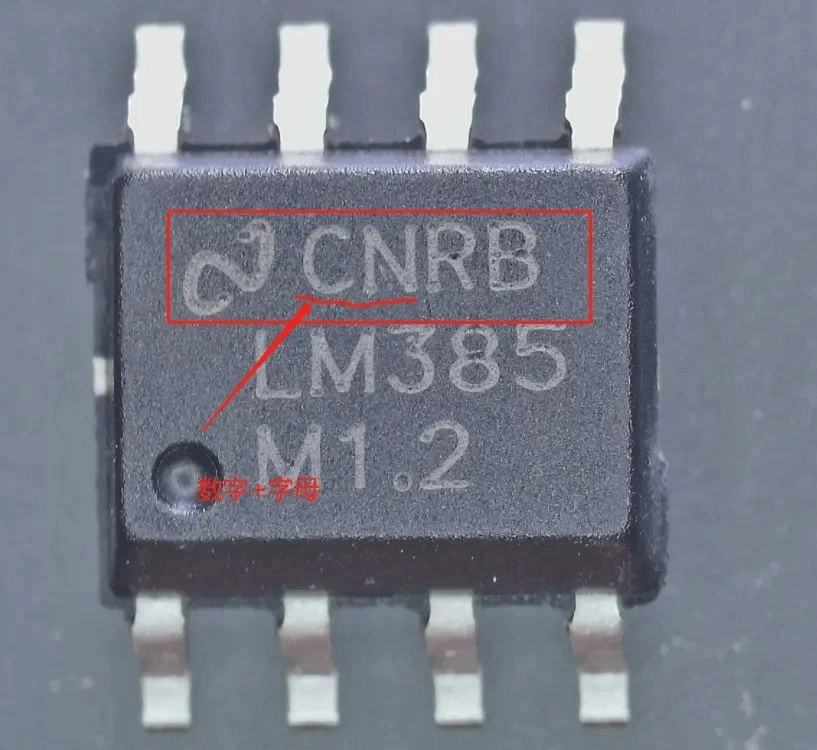
The braid is abnormal, the surface is textured, the chamfer is not round, and it has been polished twice. This batch of products is fake.” This is the conclusion recorded solemnly by the inspection engineer of the appearance inspection group after meticulously examining a component under the microscope on an ordinary evening.
At present, some unscrupulous manufacturers, in order to seek high profits, try to make fake and defective components, so that fake components and components flow into the market, bringing great risks to the quality and reliability of products.
Second, our inspection acts as an industry discriminator, responsible for the quality control of components, with advanced instruments and equipment and rich testing experience, stopped a batch of counterfeit components, to build a solid barrier for the safety of components.
Appearance inspection, intercept appearance refurbished devices
The surface of regular components is usually printed with manufacturer, model, batch, quality grade and other information. The pins are neat and uniform. Some cost manufacturers will use the inventory of discontinued devices, damaged and eliminated defective devices, second-hand devices removed from the whole machine and so on to disguise as genuine products for sale. The camouflage means usually include polishing and re-coating the package shell, re-etching the appearance logo, re-tinning the pin, re-sealing and so on.
In order to quickly and accurately identify counterfeit devices, our engineers fully grasp the processing and printing technology of each brand of components, and check every detail of components in detail with a microscope.
According to the engineer: “Some of the goods sent by the customer for inspection are very obscure, and need to be very careful to find out that they are fake.” In recent years, the demand for reliability testing of components is increasing gradually, and we dare not relax our testing. The laboratory knows that appearance testing is the first step to screen for counterfeit components, and is also the basis of all experimental methods. It must undertake the mission of “keeper” in anti-counterfeit technology, and screen clearly for procurement!
Internal analysis to prevent chip degradation devices
Chip is the core component of a component, and it is also the most precious component.
Some fake manufacturers in understanding the performance parameters of the original product, using other similar functional chips, or small manufacturers of imitation chips for direct production, counterfeit original products; Or use defective chips to repackage as qualified products; Or the core devices with similar functions, such as DSP, are repackaged with cover plates to pretend to be new models and new batches.
Internal inspection is an indispensable link in the identification of counterfeit components, and also the most important link to ensure the “consistency between the outside and the inside” of components. Opening test is the premise of internal inspection of components.
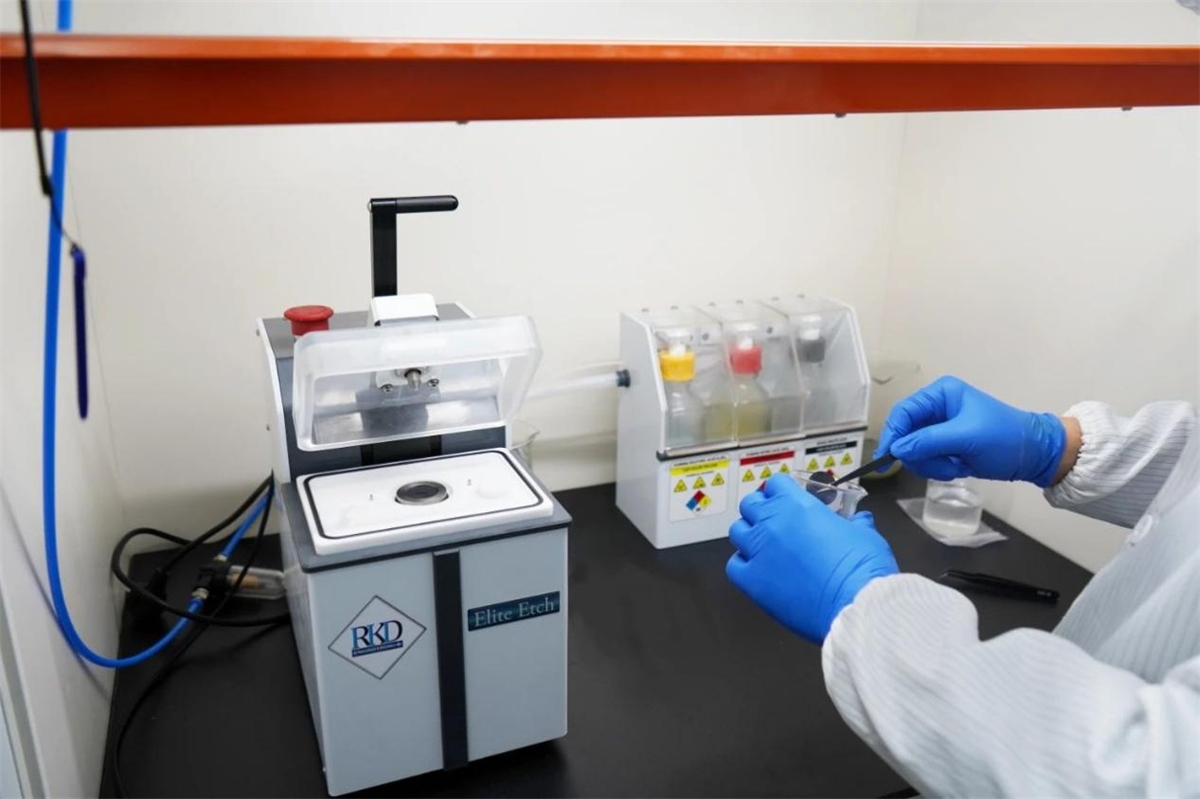
Part of the empty sealing device is only the size of a grain of rice, and it needs to use a sharp scalpel to pry open the cover plate on the surface of the device, but it cannot destroy the thin and brittle chip inside, which is no less difficult than a delicate operation. However, to open the plastic sealing device, the surface plastic sealing material needs to be corroded with high temperature and strong acid. In order to avoid injury during operation, engineers need to wear thick protective clothing and heavy gas masks all year round, but this does not prevent them from showing their exquisite hands-on ability. Engineers through the difficult opening “operation”, let the “black core” components have no hiding.
Inside and outside to avoid structural defects
X-ray scanning is a special detection means, which can transmit or reflect the components through the wave of special frequency without unpacking the components, so as to find out the internal frame structure, bonding material and diameter, chip size and layout of the components that are inconsistent with the genuine ones.
“X-rays are very high energy and can easily penetrate a metal plate several millimeters thick.” This allows the structure of the defective components to reveal the original shape, always can not escape the detection of the “fire eye”.
Post time: Jul-08-2023


